Introduction
Local development setup is essential for developers to build, test, and debug applications efficiently. A properly configured developer environment helps you work faster and avoid unnecessary errors.
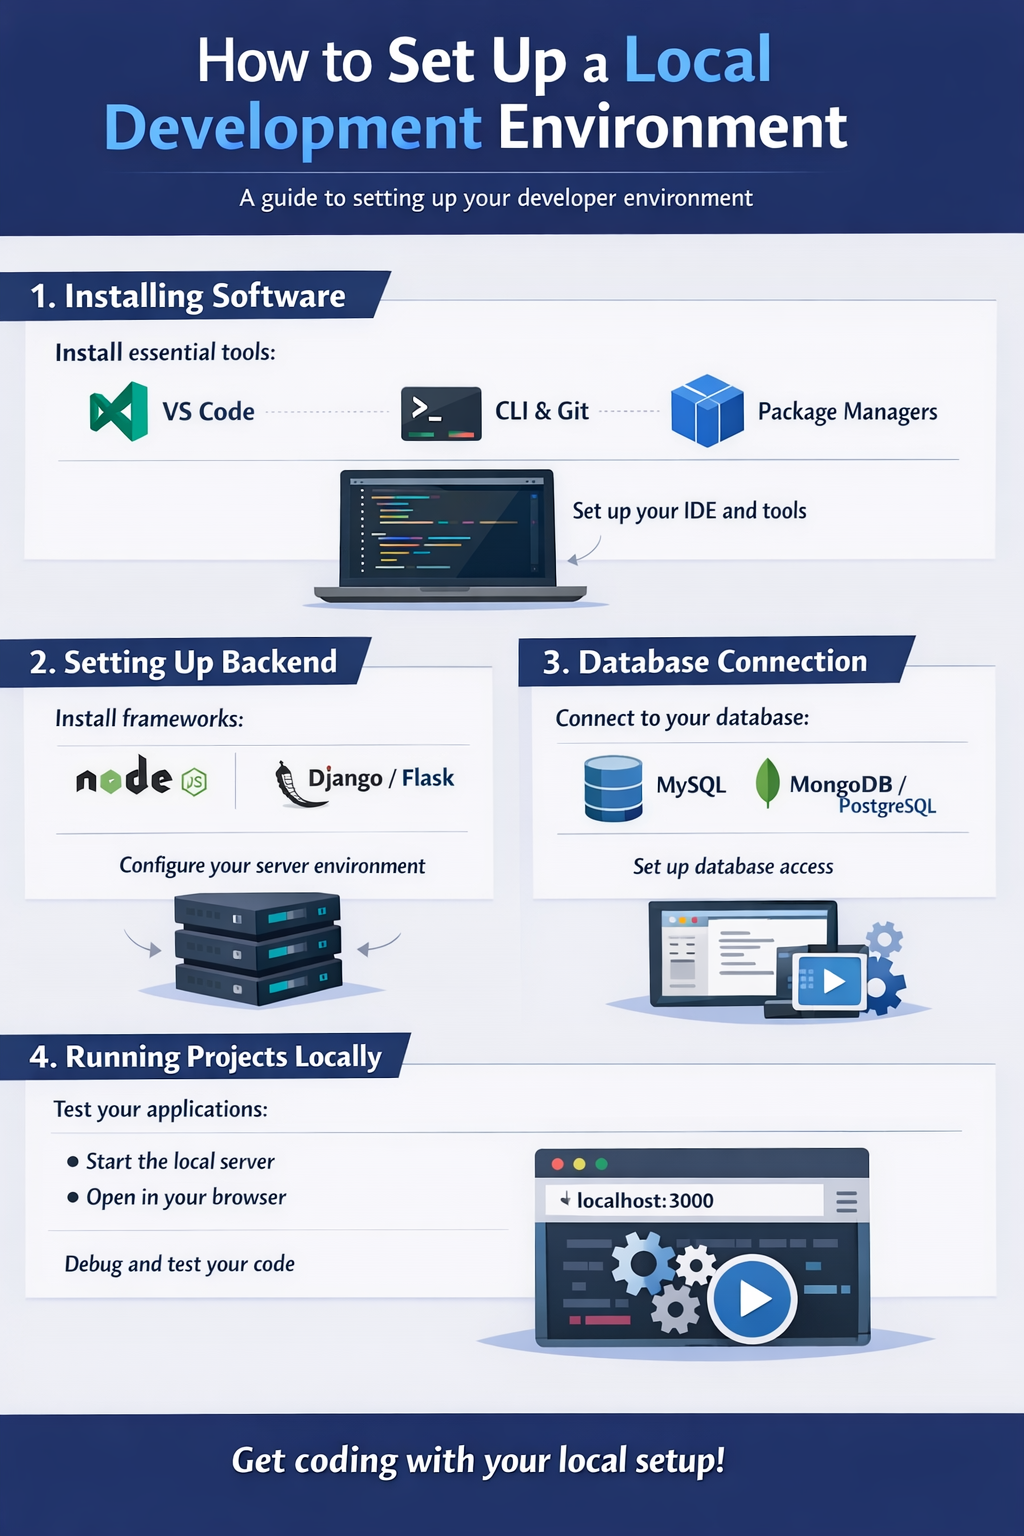
In this guide, we will walk through how to set up a local development environment step-by-step.
1. Installing Software
The first step is installing the required software.
Essentials:
- Code editor (VS Code)
- Runtime (Node.js / Python / Java)
- Package managers (npm, pip)
Tip:
Always install stable versions for better performance.
2. Setting Up Backend
Backend setup depends on the technology you are using.
Steps:
- Initialize project (npm init / project setup)
- Install dependencies
- Configure server (Express, Django, Spring)
Tip:
Follow proper folder structure for scalability.
3. Database Connection
Connecting a database is crucial for most applications.
Common Databases:
- MySQL
- MongoDB
- PostgreSQL
Steps:
- Install database
- Configure connection
- Test queries
Tip:
Use environment variables for security.
4. Running Projects Locally
Running your project locally helps in testing and debugging.
Steps:
- Start server (npm start / run command)
- Check localhost in browser
- Debug errors if any
Tip:
Use hot reload tools for faster development.
Conclusion
A proper local development setup ensures smooth development and testing. Focus on installing the right tools, setting up backend, connecting databases, and running projects locally.
Call to Action
Set up your developer environment today and start building projects efficiently.